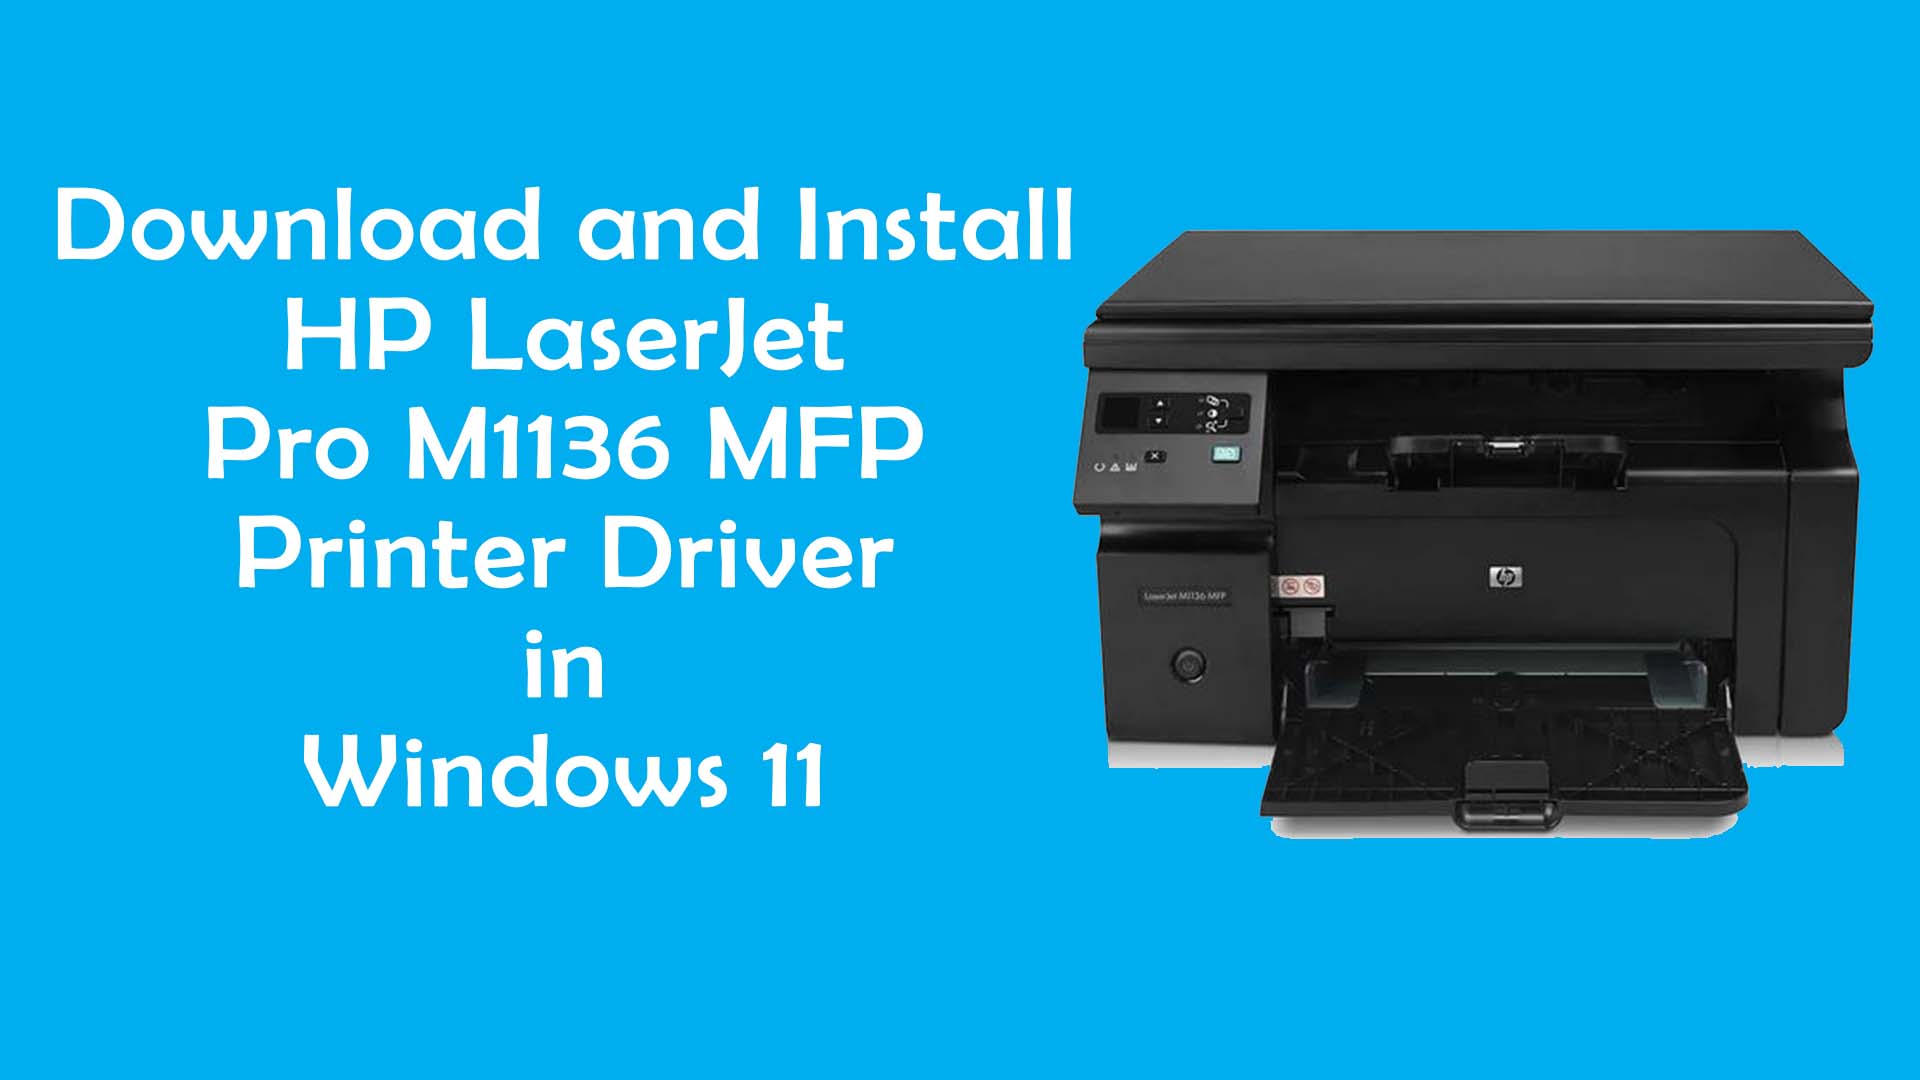
How to Download and Install HP LaserJet Pro M1136 MFP Printer Driver in Windows 11
Installing the correct driver for your HP LaserJet Pro M1136 MFP printer on Windows 11 is essential for optimal performance. This comprehensive guide will walk you through the steps to download and install the printer driver, ensuring seamless operation of your printer.
Steps to Download and Install HP LaserJet Pro M1136 MFP Printer Driver in Windows 11
1. Visit the HP Support Website
Open Your Browser:
Launch your preferred web browser (e.g., Chrome, Firefox, Edge).
Go to HP Support Page:
Navigate to the HP Customer Support – Software and Driver Downloads.
Enter Your Printer Model:
In the search box, type “HP LaserJet Pro M1136 MFP” and press Enter.
Select Your Printer:
Click on the correct printer model from the search results.
2. Choose Your Operating System
Identify Your OS:
The website should automatically detect your operating system as Windows 11. If not, select “Windows 11” from the dropdown menu.
View Available Drivers:
Scroll down to view the list of available drivers and software for your printer.
3. Download the Printer Driver
Select the Driver:
Look for the “Driver-Product Installation Software” section. Click on “Download” next to the full feature software and driver package.
Start the Download:
The download will begin automatically. Save the file to a convenient location on your computer.
4. Install the Printer Driver
Locate the Downloaded File:
Once the download is complete, navigate to the location where the file was saved.
Run the Installer:
Double-click the downloaded file to start the installation process.
Follow On-Screen Instructions:
Follow the prompts provided by the HP installer. This typically includes accepting the license agreement and selecting the installation type (e.g., Typical or Recommended).
Connect Your Printer:
During the installation, you will be prompted to connect your HP LaserJet Pro M1136 MFP printer to your computer. Use a USB cable to connect the printer if it is not already connected.
Complete the Installation:
The installer will detect your printer and complete the setup. Follow any additional on-screen instructions to finalize the installation.
5. Verify the Installation
Check Device Manager:
Press Windows + X and select “Device Manager.” Expand the “Printers” section to ensure your HP LaserJet Pro M1136 MFP is listed without any issues.
Print a Test Page:
Open the “Printers & Scanners” settings (Settings > Devices > Printers & Scanners), select your HP LaserJet Pro M1136 MFP, and click “Manage.” Click “Print a test page” to verify the printer is working correctly.
Tips for Successful Installation
Ensure Stable Internet Connection:
A stable internet connection is crucial for downloading the driver without interruptions.
Disable Antivirus Temporarily:
Some antivirus software might interfere with the installation process. Temporarily disable it if you encounter issues.
Keep Your System Updated:
Ensure your Windows 11 is up to date with the latest updates and patches from Microsoft.
Conclusion
Downloading and installing the HP LaserJet Pro M1136 MFP printer driver on Windows 11 is a straightforward process. By following these steps, you can ensure your printer operates efficiently and effectively. Remember to always download drivers from the official HP website to avoid potential security risks associated with third-party sources. Enjoy seamless printing with your HP LaserJet Pro M1136 MFP!


FEEL FREE TO DROP US A LINE.